How To Clean And Maintain Siding
Your siding protects you against the elements, so you need to do your part to keep them strong and able to continue protecting you well.
Maintenance also helps your siding last longer and damage less often, saving you money on repairs and replacement.
While maintenance does take effort and you will have to spend on some maintenance products, this amount is far less than what you'd spend on replacement and repairs if you neglect the maintenance.
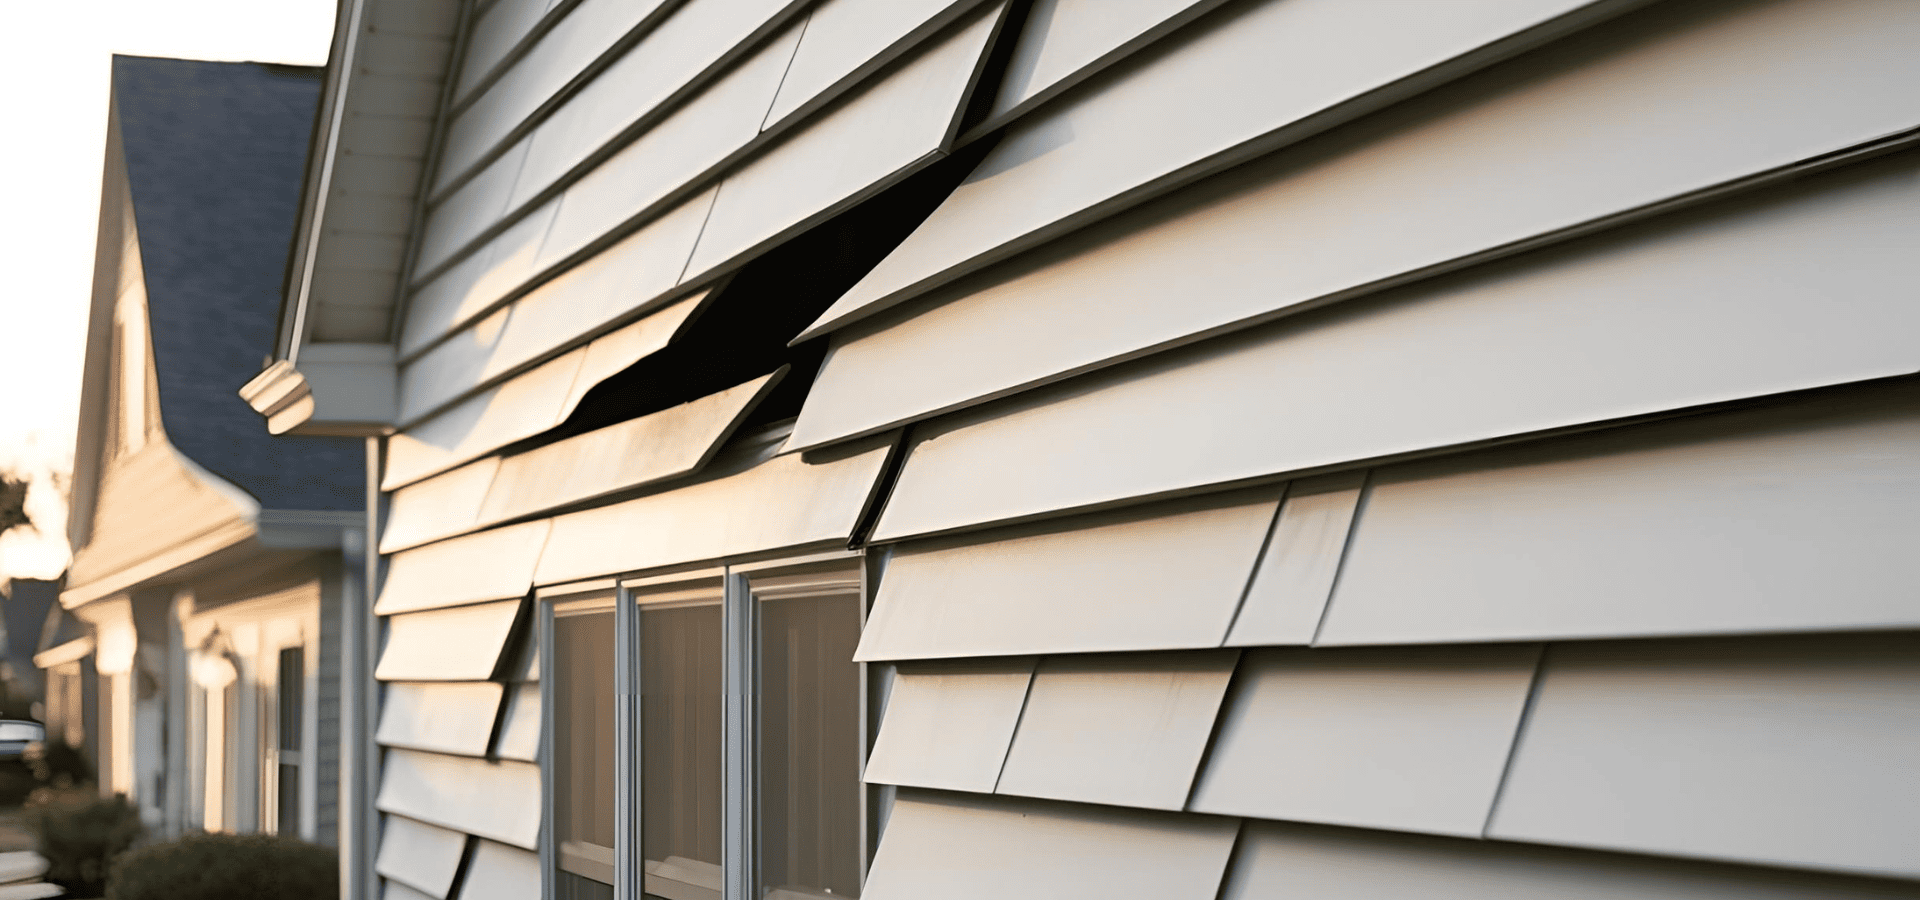
Cleaning is also an essential part of maintenance. If you don't clean your siding, mold, mildew, and algae will eventually take root. In addition, dirt and moisture can also get into small cracks and cause damage to your siding.
Now that you know how important maintenance is, read on to find out how to maintain your siding as well as keep it clean.
1. Vinyl Siding
One of the most popular siding materials, vinyl is also one of the easiest siding materials to clean and maintain.
To clean vinyl siding, you start by rinsing it with a garden hose to clean off any dirt and debris. Make sure to spray the hose from the top point downwards at the siding to prevent the water from penetrating into and behind the panels.
You can also use a pressure wash on low setting to remove slightly more stubborn stains and for a more thorough wash. If you don't want to spend money on a pressure washer, you can also engage an established contractor like MAD Solar & Pressure Washing if you need pressure washing in Orange County, or if you're in Dallas, we'd be more than happy to help you pressure wash your siding.
Next, use a mild cleaning solution to clean off the more stubborn stains and other contaminants.
To make this solution, you simply have to mix a gallon of water with a quarter cup of mild detergent or even white vinegar.
If there's mold or algae though, instead of using the cleaning solution, you'll need to use a stronger solution of bleach and water. To make this, mix a cup of bleach with a gallon of water.
After you've made the solution, you'd then use a soft-thistle brush to scrub off the stains. Simply dip the brush in your solution and scrub your siding.
These stains aren't always visible, so it's best to scrub your siding everywhere rather than only where you see there are stains or contaminants like mold.
Also, make sure to use a soft-thistle brush. Vinyl is quite durable and can stand up well against elements like moisture, UV rays, heat, and even debris.
However, its surface isn't physically hard, so it can be scratched relatively easily. So to prevent this, make sure to use a soft-thistle brush.
After brushing your siding thoroughly, give it a final rinse to rinse off any residue solution.
Note that cleaning should be done roughly 1-2 times per year.
In terms of maintenance, as mentioned earlier, vinyl is relatively low-maintenance. As such, the main maintenance you'll be doing is really just preventative maintenance and checking for damages regularly.
Besides cleaning and preventative maintenance, the only other maintenance task you need to do is repainting. This won't always need to be done, but if you observe any areas that seem to have a different color, that's a sign that the UV-resistant coating has faded.
When this occurs, you won't be able to apply the coating again as this UV-resistant coating isn't a layer on top of the vinyl, but embedded throughout the siding.
Instead, you'll need to use vinyl-safe paint to act as a layer against UV rays.
That's pretty much it. Vinyl doesn't require too much maintenance, so as long as you perform these few maintenance tasks, your vinyl siding will be in good condition for many years to come.
2. Fiber Cement Siding

For fiber cement, the cleaning and maintenance are actually largely similar.
For cleaning, you'd follow the same steps and use the same cleaning solution. But for fiber cement, as it’s more porous, it's better at holding on to dirt and grime, so you'll need a stronger solution of 1 cup mild detergent or white vinegar per gallon of water.
You should also be using a soft thistle brush.
However, fiber cement is usually sealed or painted over, so bleach may discolor this finish.
As such, stay away from bleach solutions. Instead, use white vinegar if you need to remove mold or mildew.
Bleach solutions will be more effective, which is why they're recommended for vinyl, but for fiber cement, you'll have to use a less effective but safer white vinegar solution.
For fiber cement, another maintenance task you'll have to perform is repainting every 10-15 years. Unlike vinyl where the protective coating is embedded into the material, for fiber cement, the paint on it is the protective coating.
So to keep it protected against moisture and UV rays, repairing needs to be done every 10-15 years.
Like vinyl, fiber cement is a pretty low-maintenance siding option, so that's really all you have to do for the maintenance, along with regular inspections of course.
3. Metal Siding
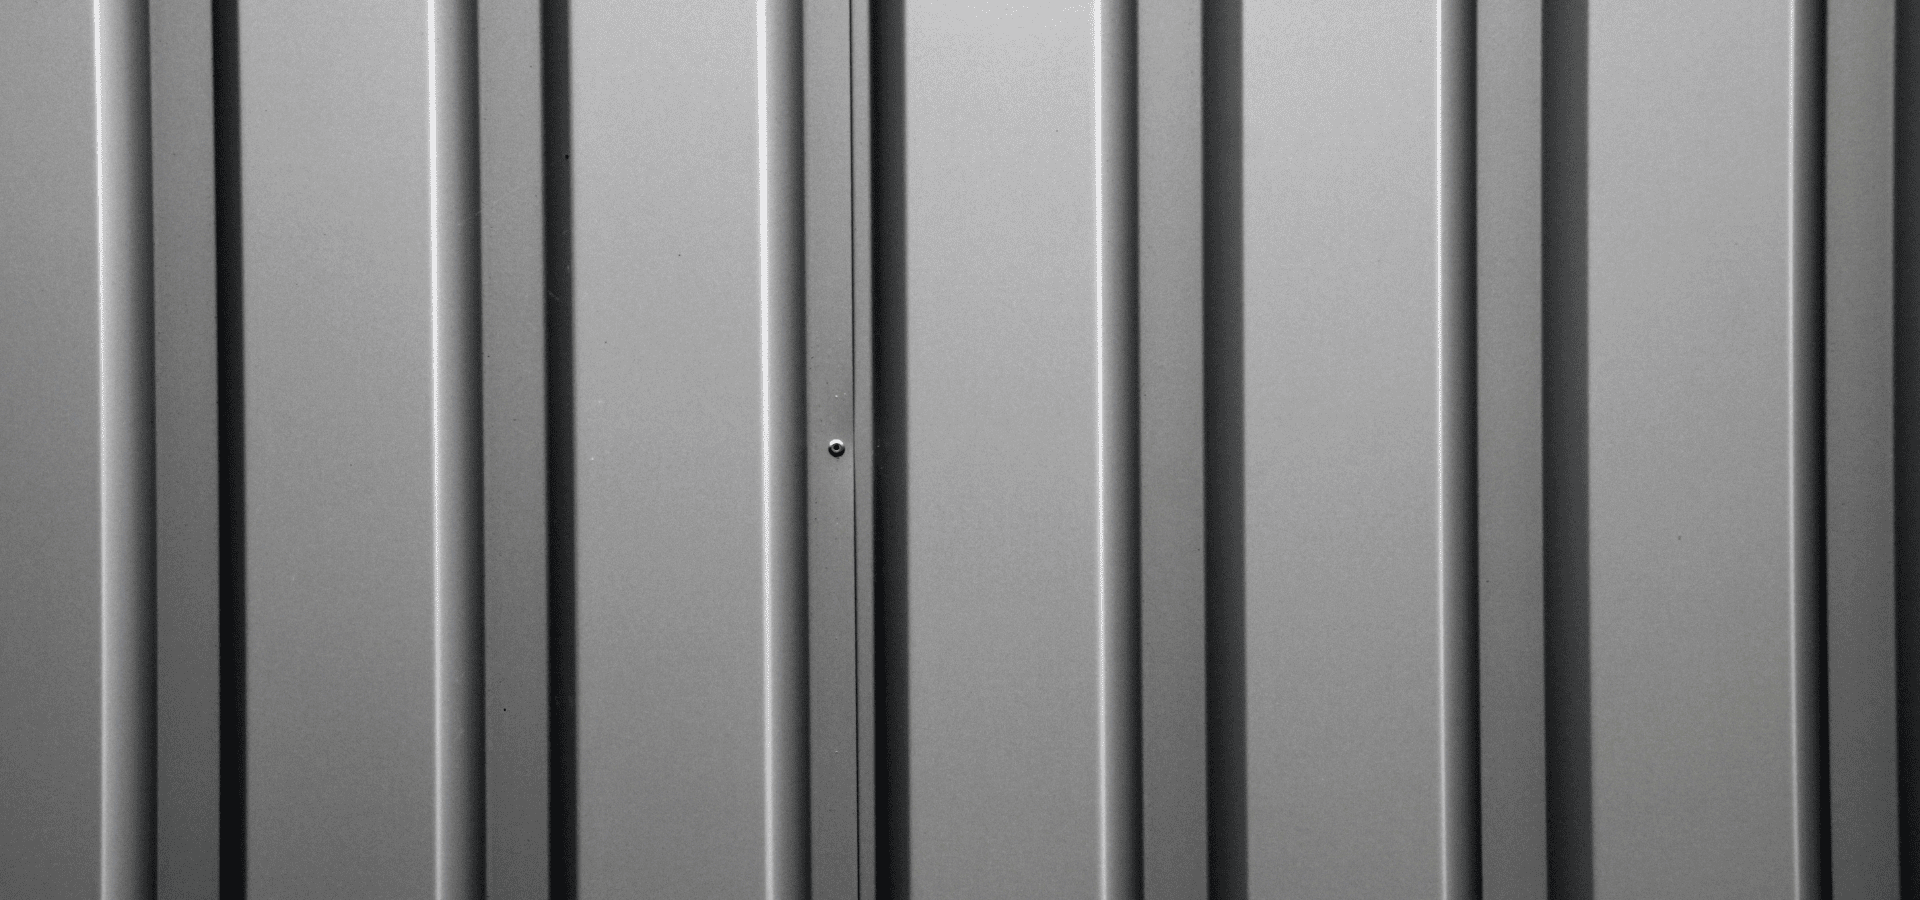
Metal is extremely low-maintenance, even more so than vinyl and fiber cement.
Again, the cleaning steps are pretty much the same. The only difference is that with metal siding, you need to worry about corrosion.
If there isn't corrosion, the cleaning steps are the same, a gallon of water with a cup of mild detergent or vinegar, clean with a soft-thistle brush, and so on.
If there is corrosion though, you'll have to deal with it based on the type of corrosion. The two main types of corrosion are rust and oxidation.
If there's oxidation, where you'll notice a white residue, for milder cases, a vinegar solution will do.
For more severe cases though, you'll have to use specialized commercial solutions. For aluminum, this would be an aluminum siding cleaner. And for galvanized steel siding, this would be a zinc-based restorer.
White residue is only for aluminum and galvanized steel.
If you notice reddish-brown flakes, that's rust, which is a type of oxidation that can occur on many metals other than aluminum and galvanized steel.
When it comes to rust, even for mild cases, vinegar solution won't do. Instead, you'll need to use a rust remover and scrub the area with a steel wool or wire brush.
Same as with your regular cleaning, after removing the corrosion, give it a final rinse to rinse off any residue solution.
Then, if it’s white residue oxidation, apply a layer of sealant to protect it from further oxidation.
If it’s rust, you'll need to apply rust-inhibiting primer first, then repaint over the area to protect it from further rusting.
The reason for the different treatment methods is that oxidation is surface-level, so once you've cleaned it off, there won't be any lasting damage.
The oxidation was able to occur because your sealant was compromised, so all you have to do is reapply it after cleaning the oxidation off.
However, rust damages your siding on a deeper level, so simply applying sealant won't give it sufficient protection, and the issue of rust will likely come back.
As such, you'll need to use a rust-inhibiting primer and then repaint on top of that, as paint is a stronger and more long-lasting protestant than sealant.
Besides cleaning and dealing with corrosion, the last maintenance task that you'll have to perform for metal siding is repainting once every 5-10 years.
As we just mentioned, paint is a stronger protection than sealant, so to keep your metal siding protected, it's a good idea to preemptively repaint it rather than wait till oxidation or rusting occurs.
4. Wood Siding
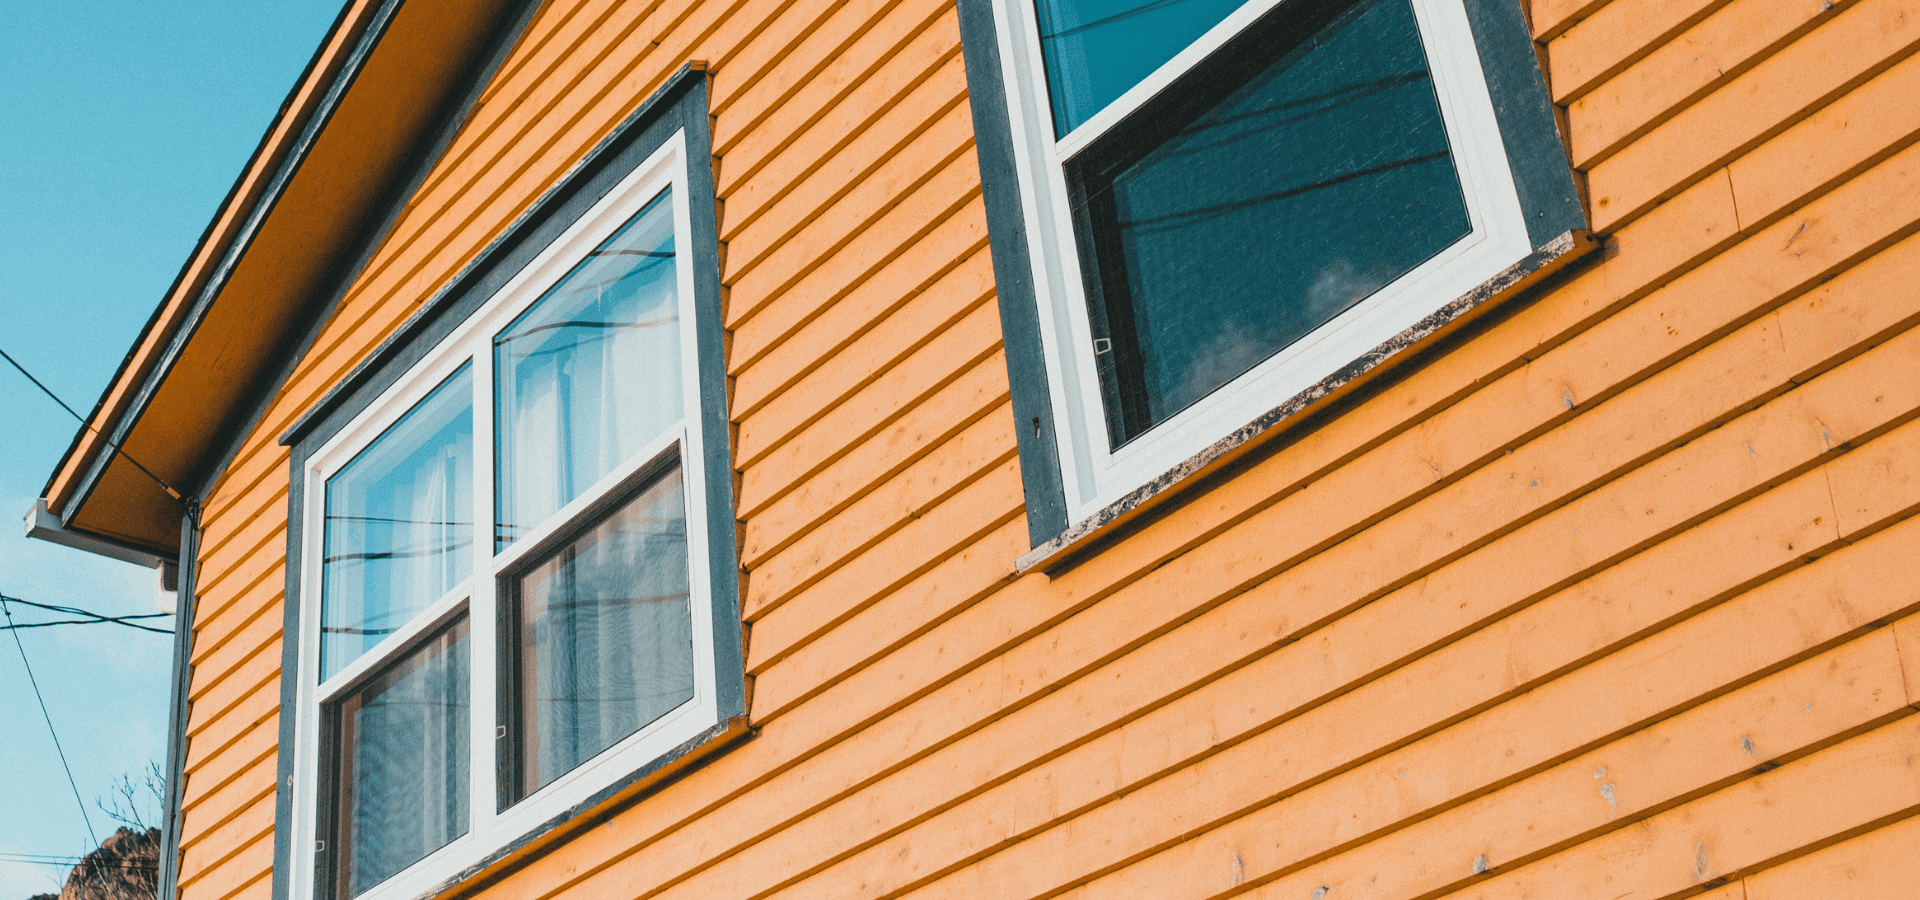
Moving on to wood siding, the regular cleaning is the same as for vinyl siding, except for removing mold, on top of just bleach and water, you should mix 1/4 cup of detergent in too.
This is to create a stronger solution, as wood absorbs moisture and holds on to the mold more strongly, so a stronger solution is required to remove the mold and break the bond between the mold and wood.
So that’s it for cleaning.
Now for maintenance, wood is notorious for being one of the most prone materials to rot, moisture damage, and pest infestations. As such, those are additional things you need to look out for during your inspections.
Given how prone wood is to these issues, you need frequent inspections to quickly spot and deal with these issues when they arise. You should perform inspections at least 3-4 times per year and always check after heavy storms.
Also, to help your wood resist water damage and pests, you need to repaint it every 3-5 years. Or if you stained your wood instead of painting it, you will need to reapply a layer of sealant every 1-2 years and restain every 3-5 years.
That’s pretty much it for wood siding.
5. Stucco/Brick And Stone Veneers
For the rest of these siding materials, they’re all very low-maintenance and all have very similar maintenance steps, so we grouped them together.
For cleaning, once again, it’s the same as for vinyl, just a gallon of water with a quarter cup of mild detergent will suffice. For all three siding materials, it’s best to stay away from bleach as it can cause color fading and even structural damage.
Instead, to deal with mold, mildew, and stronger stains or more stubborn dirt, use material-specific solutions. This means stucco-safe cleaner for stucco, masonry cleaner for brick veneer, and stone cleaner for stone veneer.
Besides the standard inspection for damages, here are additional things and maintenance tasks to look out for:
- For stucco, look out specifically for cracks as it’s prone to cracking. Also, repaint every 7-10 years.
- For brick, inspect the mortar joints annually and clean the mortar joints every 1-2 years using the same cleaning solution for regular cleaning, but using a stiff-bristle brush or grout brush instead.
- Stone veneer is the most sturdy and durable siding material, so you won’t even need to perform maintenance tasks. Instead, just look out for loose stones or mortar deterioration during your inspections.
That’s really all you have to do for stucco, brick, and stone veneer siding. Their maintenance tasks are quite standard and straightforward, and they’re all pretty low-maintenance options.
Final Tips
Before we end off, here’s one final tip.
When performing your inspections, the best times to do so are spring and fall.
Spring is right after winter, which is the most trying time for your siding. Freeze-thaw cycles, the moist atmosphere, and storms can all damage your siding.
As such, it’s always a good idea to check after winter.
Fall is right before winter, which will put your siding to the test. As such, you want to keep your siding as strong as possible going into the winter to give it the best chance of tiding through unscathed.
Any small issues can escalate into big ones if left unchecked going into winter, so fall is another important time to identify and fix any damages before the winter arrives.
With that, you should be well-equipped to
clean and maintain your siding and keep it in tip-top condition. Good luck!
You might also like