How To Prepare Your Home’s Siding For Seasonal Changes
Everyone knows that siding protects your home, but you have to protect your siding too so that it can do its job.
As the seasons change, each season brings with it new conditions, temperatures, moisture levels, and so on.
While not always bad, some of these changes can be more taxing than usual on your siding, which means you need to make preparations so that your siding can remain steadfast even in the face of these changing conditions.
This will not only keep your home better protected, but save you money on costly repairs or replacements that could have easily been avoided.
Read on to find out what to watch out for in each season and how to deal with them.
Spring Preparation
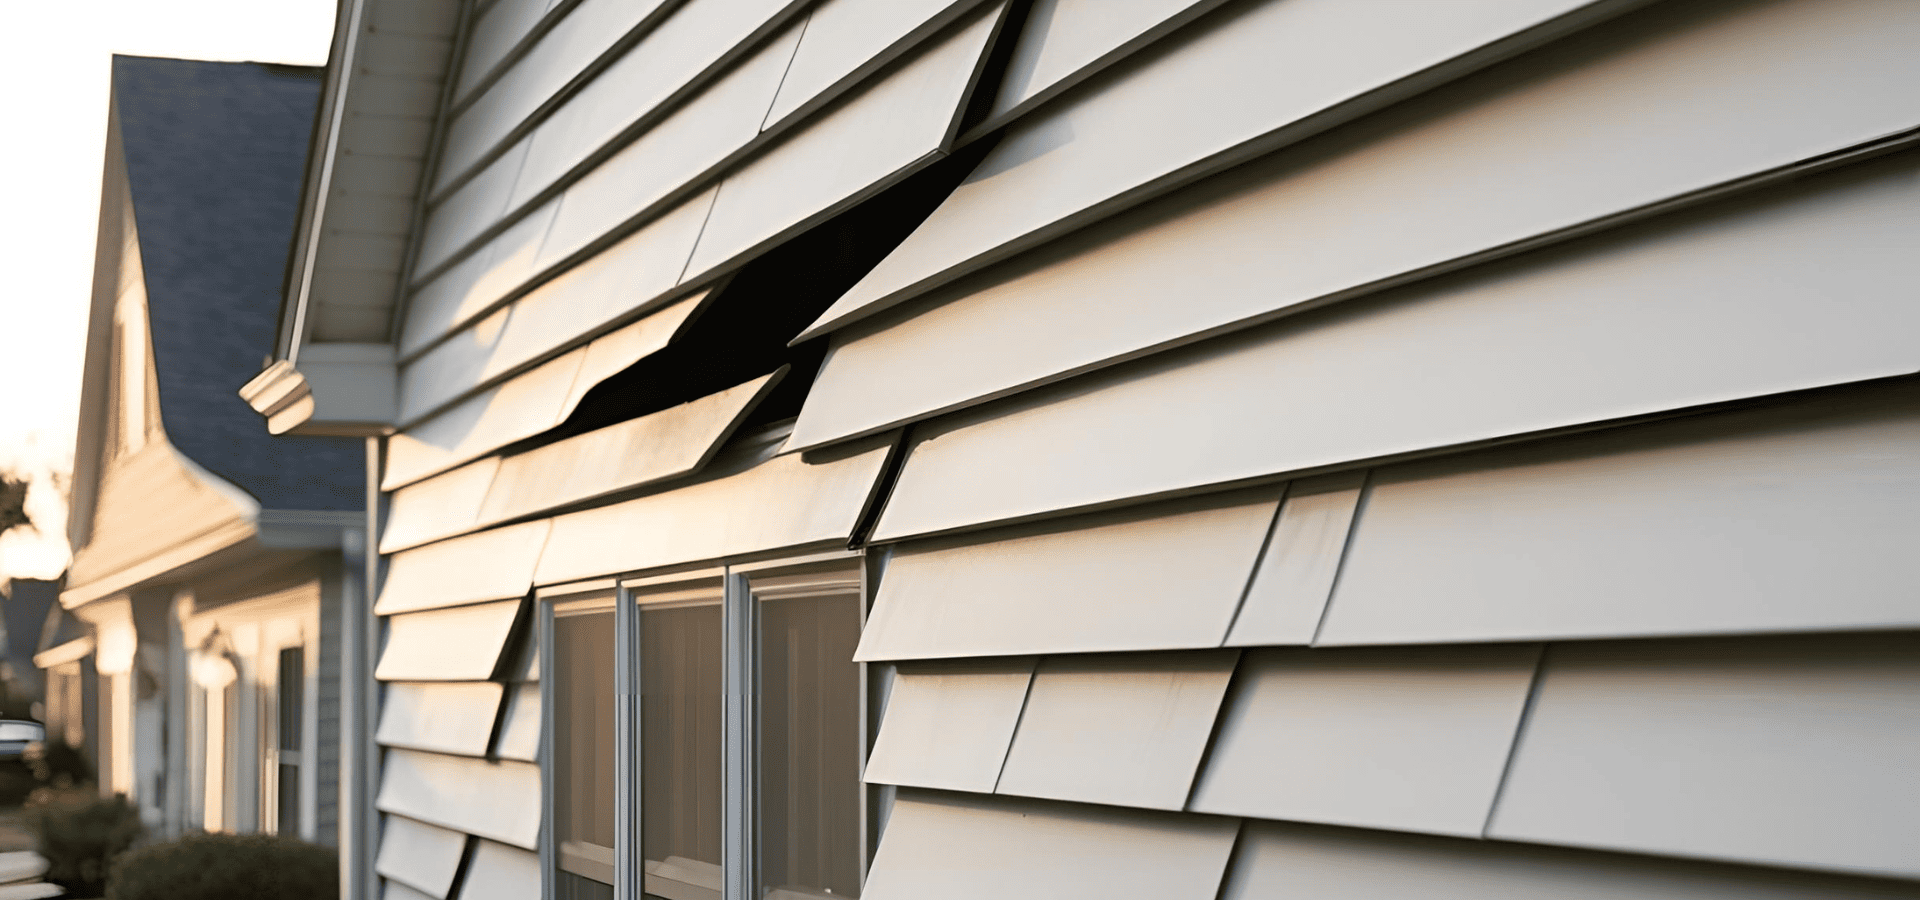
Spring is the season after winter, and winter is the most trying season for your siding. So before you even think about preparing for the spring season, you need to first ensure your siding is in good condition and any necessary repairs are completed.
As such, the first thing to do in spring preparation is inspection.
Siding Inspection
During winter, freeze-thaw cycles can wreak serious havoc on your siding, especially if moisture managed to penetrate.
The constant snow also means moisture is constantly trying to penetrate your siding. Lesser siding that isn’t properly sealed will easily allow water and moisture through, which can lead to moisture damage to the siding and the underlying layers, and even cause structural damage to your wall.
As such, it’s imperative to perform a careful, thorough inspection and look out for signs of these damages:
- Cracks, chips, and holes from freeze-thaw cycles
- Water damage, i.e. mold, mildew, and stains
- Warping or buckling from temperature changes
- Loose or missing panels that could have been caused by strong winds and storms
- Corrosion if your siding is metal
- Rotting if your siding is wood
Cleaning
Snow, ice, and salt can accumulate and leave behind residue, dirt, and stains. If left on your siding, they can cause permanent discoloration.
If there’s any mold or mildew caused by the wet winter conditions, those should also be promptly cleaned off.
For most siding materials, a soft-thistle brush along with a mild cleaning solution will suffice.
Preparing For Increased Rainfall
With spring comes more frequent rain, which again, can lead to moisture damage.
To prepare for this, firstly, ensure that your siding is properly sealed and any gaps at the joints, seams, and around windows and doors are sealed up tightly to prevent water penetration.
It should also go without saying that any cracks or holes need to be patched up.
Even if you can keep water out though, if you don’t have a proper drainage system, water can accumulate inside your siding without proper drainage and ventilation.
As such, you need to check your house wrap, sheathing, flashing, weep holes, and drainage gaps to ensure that your drainage system can do its job properly.
Finally, clean your gutters to ensure water can flow through them smoothly.
Repairs
Needless to say, any damages found from your siding inspection should be repaired as soon as possible.
Don’t ignore small damages thinking that they won’t cause too much of an issue. While small cracks or a little mold won’t affect your siding too much, they can easily escalate if left untreated.
Small cracks can become larger cracks or even holes due to expansion and contraction, and mold can spread to cause structural damage.
This is especially so in spring when frequent rainfall and the humid atmosphere increase the risk of moisture damage.
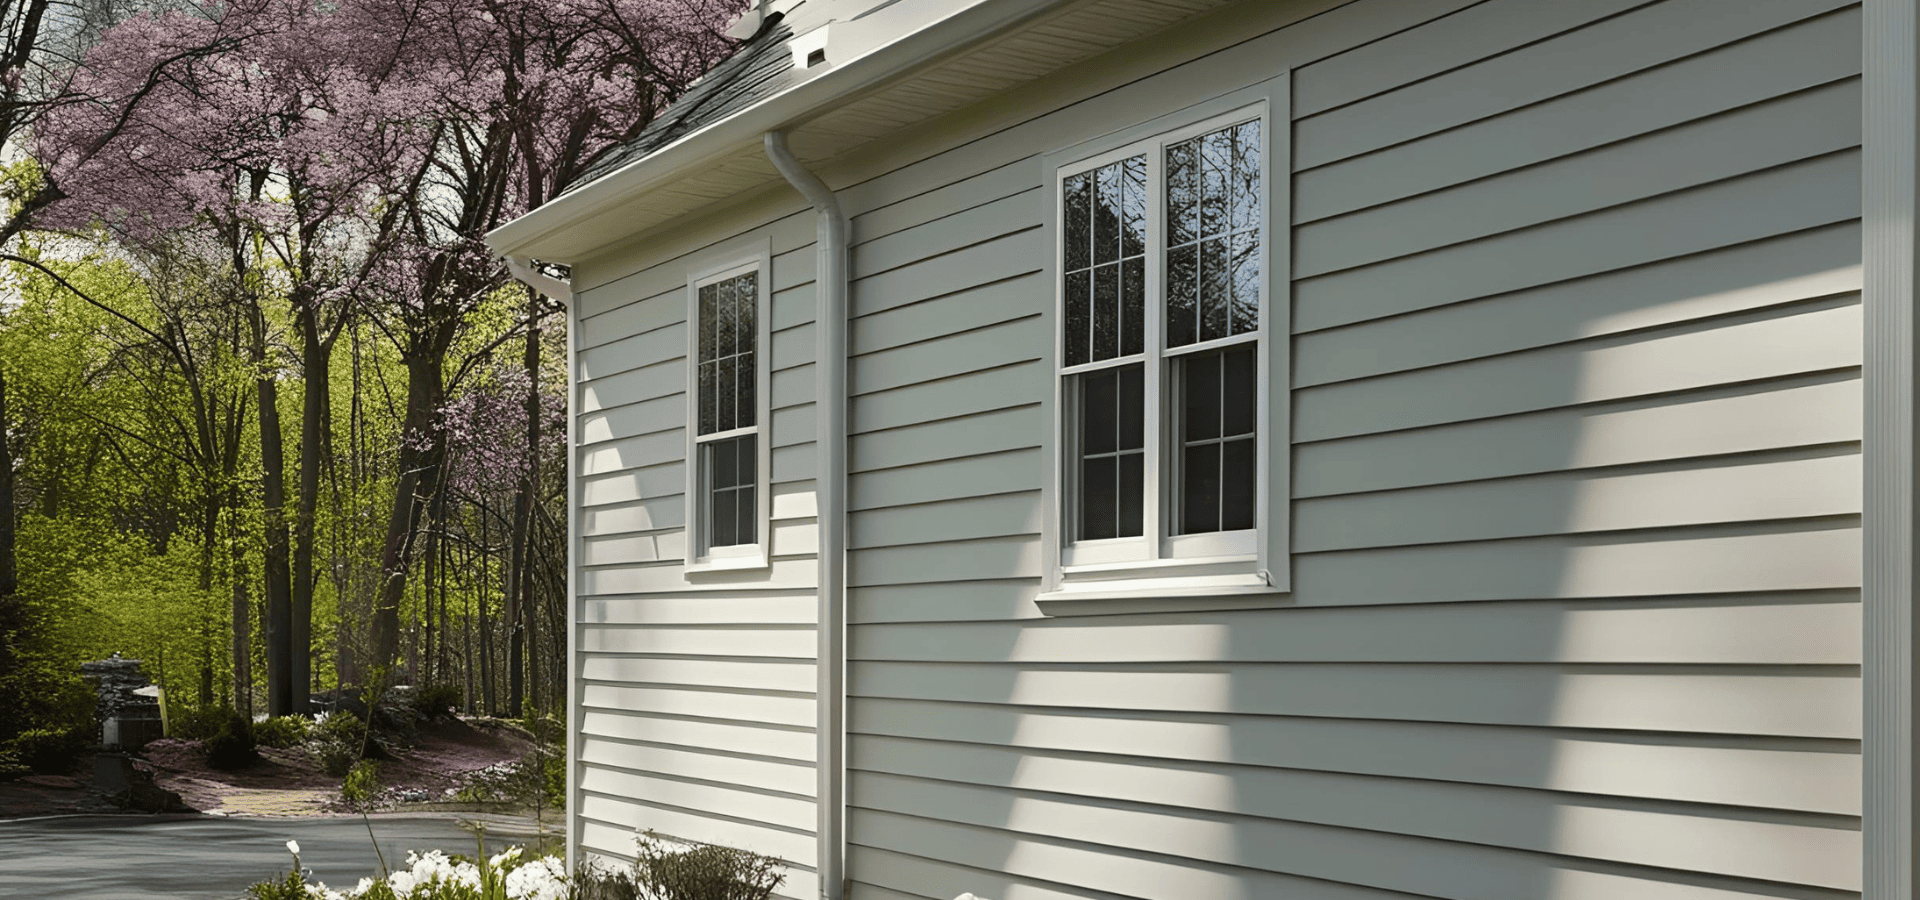
Summer Preparation
In summer, your main enemy is going to be the sun and heat, and sometimes humidity.
Generally, you won’t need another round of siding inspection since you just did one in spring, so you can skip that unless your region experiences intense weather or your siding is old.
Instead, you can go straight to preparing for the sun and heat.
Preparing For The Sun And Heat
To help your siding weather both UV rays and heat, here are some strategies.
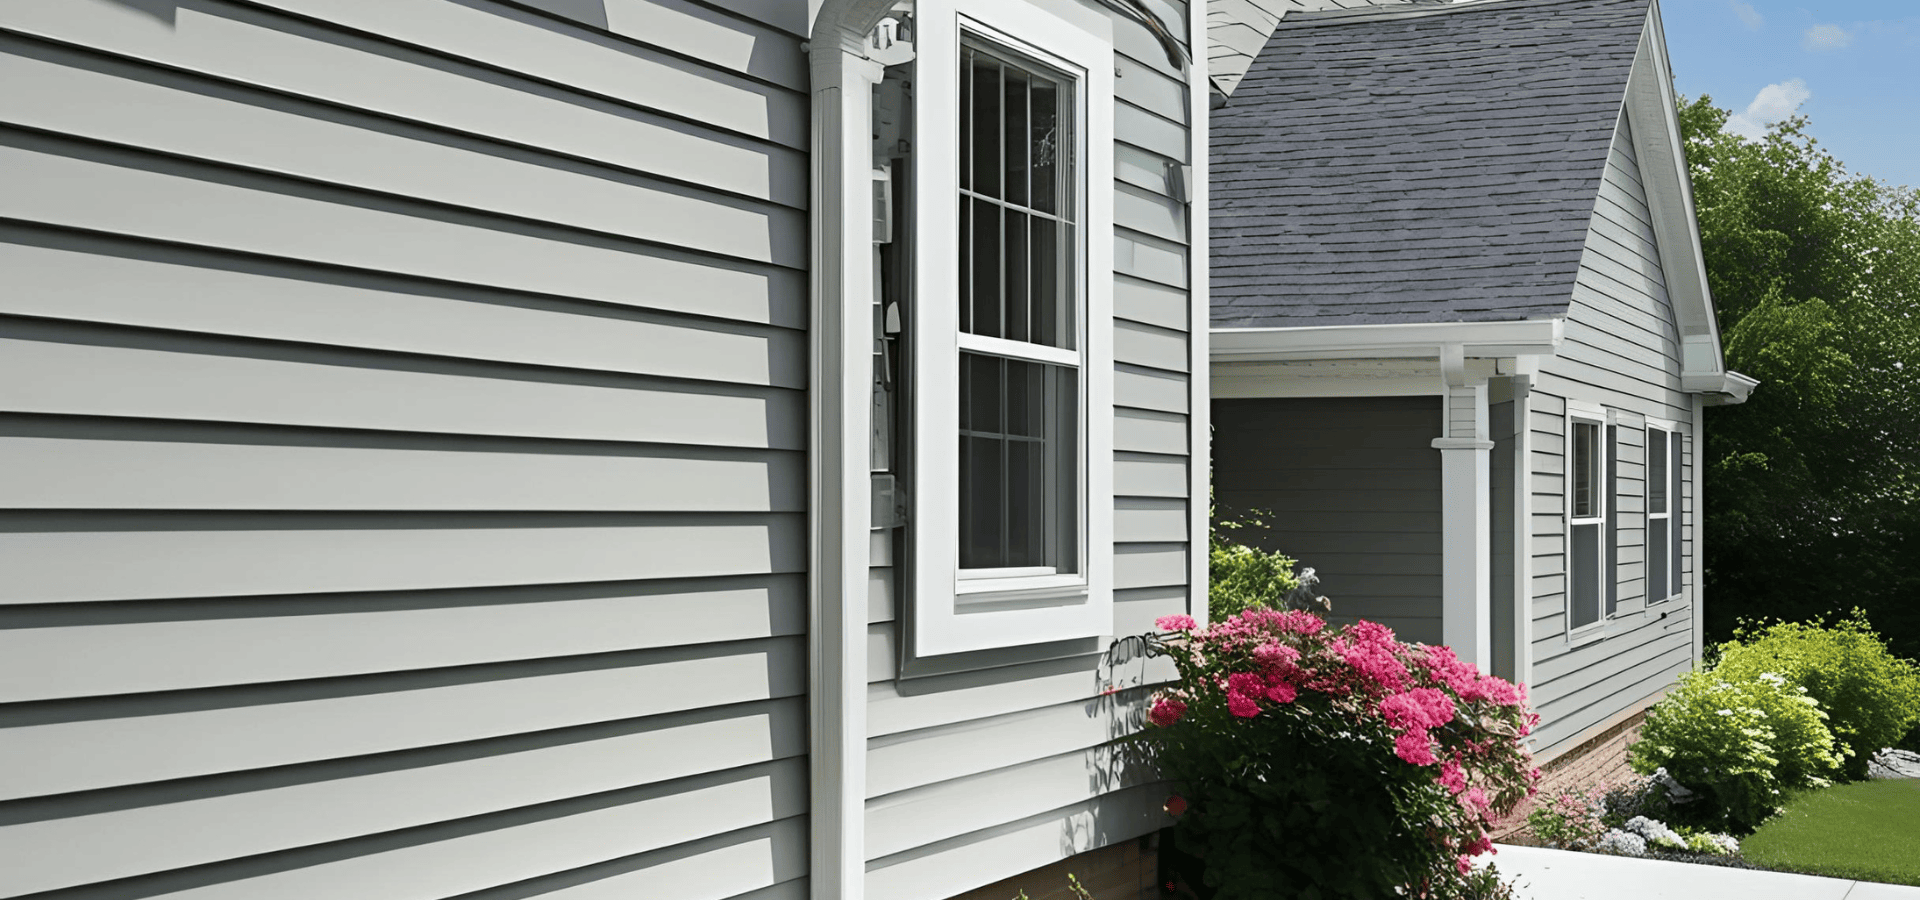
Opt for lighter colors:
If you’ve already installed your siding, the only way to change its color is to repaint, which you probably aren’t too interested in doing.
However, for those who haven’t installed their siding yet or are considering a replacement, it’s worth opting for lighter colors if they fit well with your aesthetics.
Lighter colors reflect more light, not only reducing the stress on your siding, but also improving energy efficiency and lowering your cooling costs.
Proper installation:
One of the main causes of warping and buckling is improper siding installation, where not enough space is left for expansion and contraction.
Unfortunately, you won’t know until you start seeing issues like warping and buckling or cracks. At that point, the only thing left to do is to reinstall the siding properly.
As such, it’s crucial that the initial installation is done properly, which is also why it can be worth investing in professional installation.
UV-resistant coating:
Lastly, to prevent degradation or discoloration from UV rays, consider applying UV-resistant coatings that will help reflect more sunlight and minimize discoloration, as well as slightly enhance energy efficiency.
Ensure no entry points:
The warmth of summer makes it prime time for insects and pests to breed. As such, make doubly sure that any gaps, cracks, or holes are sealed up to prevent pest infestations.
Managing Humidity
Warm air naturally holds more moisture, so the summer climate is usually humid. Assuming you did your spring preparations correctly, you should be good to go.
If not, once again, patch up any holes or cracks, seal up any gaps, and consider sealing your siding as well.
Check that your drainage system is working, your house wrap, sheathing, and so on.
And lastly, clean your gutters.
Fall
Fall is the mildest and least trying season on your siding, and there’s generally not much you have to prepare for.
Instead, fall is usually used to prepare for winter, so let’s jump straight to winter preparations.
Winter
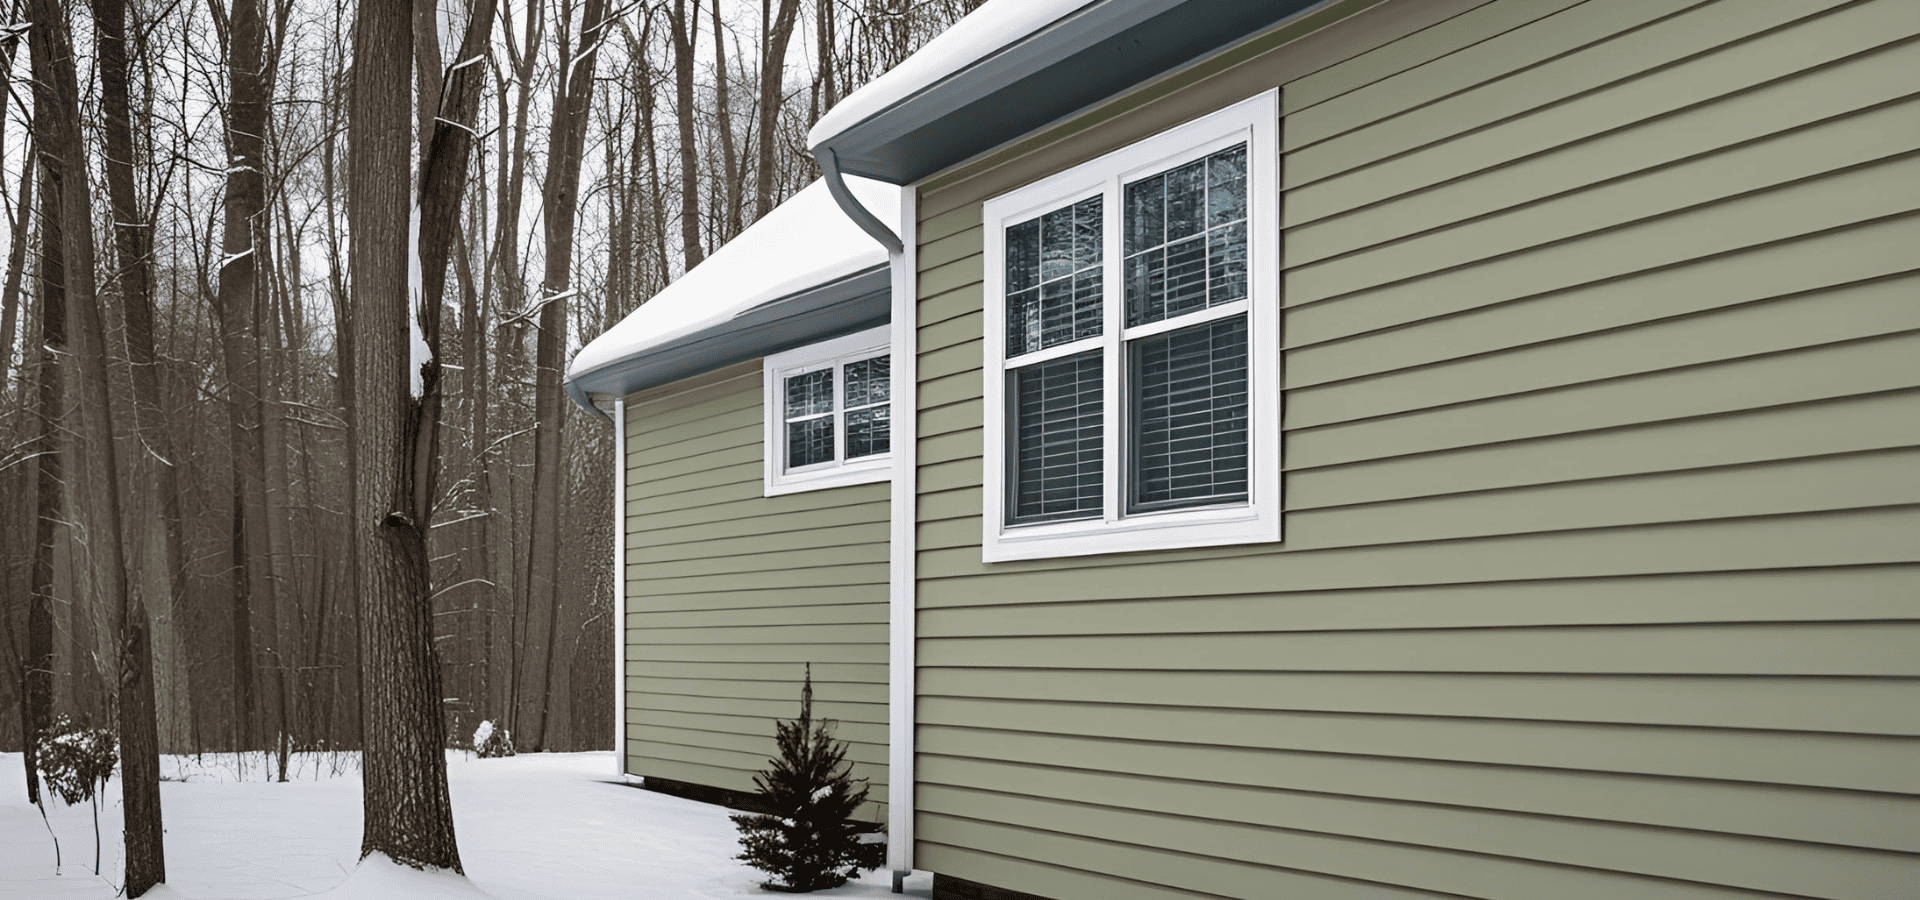
With winter comes snow, ice, and rainfall. Before these trying elements arrive, you need to spruce up your siding and make it as strong as possible.
As such, the first step is to inspect and find any damages and repair them quickly.
Fall Preparation For Winter
During the fall, you need to inspect your siding for signs of any damages and get them repaired quickly.
We already covered what to look out for in the spring preparation section so we won’t list everything again, but in particular, look out for areas where moisture can enter.
This means cracks, chips, holes, gaps, and loose or missing panels.
Depending on the moisture protectant you’re using, whether it’s a sealant or a finish, if it’s close to the end of its effective period, you should also reapply a layer to ensure it can last the winter.
The final step is to clear your gutters so that water can be drained effectively and there won’t be the risk of ice dams.
Dealing With Snow And Ice
Other than preparation in the fall, during the winter itself, you’ll mainly be dealing with snow and ice.
For snow, it should be common knowledge to just use a broom or plastic snow removal tool to gently remove it should it pile up against your siding. Avoid metal tools that might scratch your siding.
For ice, you’re mainly looking out for ice dams on your roof, as they prevent snow and water from flowing down and could cause water to seep into your siding.
To prevent ice damns, again, a good drainage system is key to allow melted snow to drain away without freezing.
Attic insulation is also key to ensuring even temperature throughout your roof rather than having some parts warmer and some parts colder, which is what causes melting and refreezing and leads to ice dams.
Other than that, there’s not much else to do for winter. Many of the preparations and repairs should have been done in spring.
From here on, the only thing left to do is to check your siding each time after any heavy storms.
Final Tips
As the saying goes, it wasn’t raining when Noah built the ark.
Similarly, while each season may test your siding in different ways, by preparing for these challenges and equipping your siding to handle them, your siding will be much better able to deal with these stresses.
Remember that no matter how well you prepare and protect your siding, harsh elements can still wear it out and damage it.
So even if you’ve done your part dutifully and prepped your siding to handle the coming season, after intense weather like heavy storms and hurricanes, it’s still important to check for damages and repair them quickly before they get worse.
A large part of siding maintenance is actually inspections and making repairs. Most of the time, there really isn’t much need to
maintain your siding unless there are issues with it.
As such, to keep your siding in its best shape and perform the appropriate maintenance, you need to be diligent and careful in your inspections, as that’s the most crucial part of siding maintenance.
If you’re short on time or prefer to have a trained professional handle it, just give
Dallas Siding Pros a call!
You might also like